Disks And Volumes
Interface Types
SCSI
This storage type is actually more of a protocol and a set of standards than it is a type of physical Device. It’s usually used in server envirnoments with Harddrives chained together. SCSI drives are useful for their speed and volume.
SATA
The S is SATA stands for serial and can transfer fairly quickly. SATA includes the physical SATA interface and has replaced IDE Drives for the post part. This is the standard in most consumer machines.
USB
USB refers to drives that connect via the USB port on a computer. USB comes in 2.0 and 3.0. The 3.0 type is a faster type but both 3.0 devices and ports work fine with the respective 2.0 counterparts.
Volumes, Partitions, and Partition Styles.
Volumes and Partitions often get confused. It’s important to note that a disk needs at least one partition and that partitions can be empty non-initialized sections. You can give these partitions structure, and these structures fall into different categories as well. More on that later. Volumes are partitions that have a file structure setup, often it’s an operating system or a simple storage device.
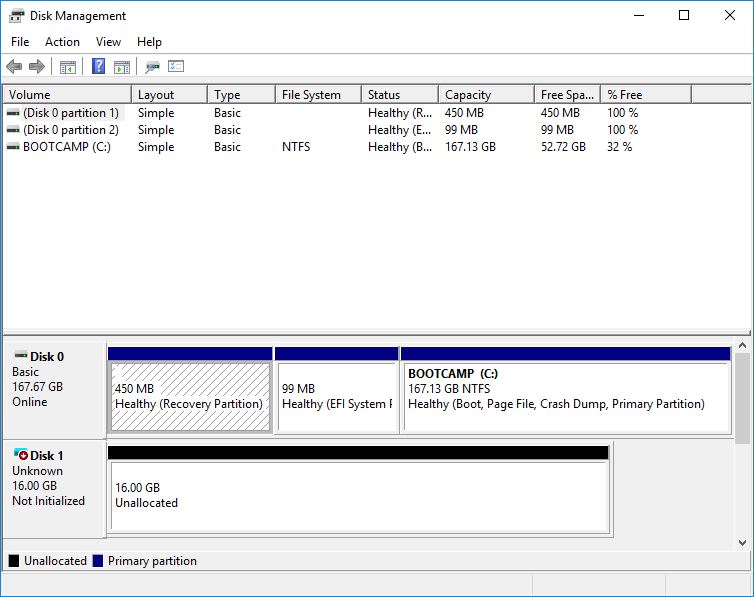
Here is a visual to give you a better idea.

Notice that Disk 0 has multiple partitions all set up in unique ways. Then there is a NTFS file system setup as the bootable disk.
The organizational system and style of the partition can come in different flavors as well. Two major flavors are
- GPT GUID partition table
- MBR Master Boot Record
Why GPT over MBR?
What you need to know is that MBR is a much older system and the way that the partitions and tables are setup may be less efficient. MBR also has a limit of 2 TB of space that it can recognize per each of it’s max 4 partitions. The bootloader in the MBR isn’t smart enough to handle much more than a classic BIOS system. So use with EFI isn’t possible. Also, without getting into too much detail. The usused space between the partition table + bootloader and the 1st partition is much smaller. Due to the way it’s organizes within it’s sectors, there is no need to leave gaps between the elements.
Disk Maintenance
Disk Management
Working with storage devices to create partitions and volumes can be done with various tools. On Server 2016, the native application is Disk Management as pictured above.
To get to Disk Management, you have a few options
- Search for it in the start menu
- Find it in Administrative tools
- run
diskmgmt.mcsin the run window or command line
Using Powershell.
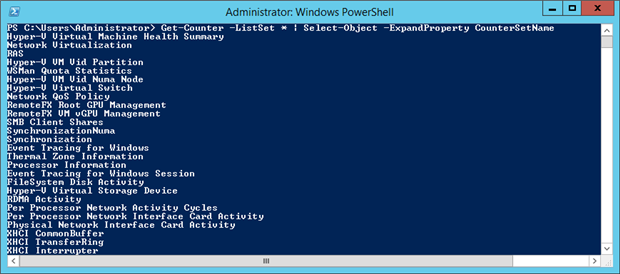
You can also use some commands in powershell to handle your Disks, partitions, and volumes. Here are some basic starting points. These commandlets have their own set of possible options and arugments that make them useful. Use man CommandName or help CommandName to learn more.
Get-Disk
Initialize-Disk
Get-Partition
Get-Volume
Format-Volume
Set-StorageSetting
Trusty DiskPart
For many years, the goto for disk maintenance is DiskPart. Similar to using powershell, DiskPart is a command like tool for handling storage.
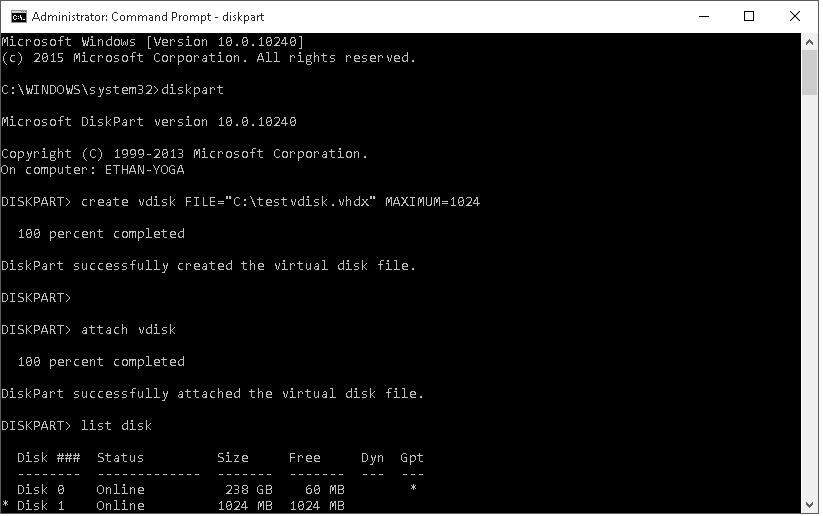
Here are some commands. Use Diskpart /? to get a better idea of how to use DiskPart.
Diskpart list disk
select disk <number>
clean
create partition primary
select partition <number>
active
assign letter=<letter>
File Systems
The file system handles how the data is organized without a volume. It’s role is to isolate particular parts of data so that it understand where one thing starts and another begins. It’s what gives storage devices the ability to name files and have directories. Each system is very unique and has it’s own benefits.
Here is a list of types:
- FAT
- exFAT
- NTFS
- ISO
- HFS
- ext
- VMFS
Note: Some of these types include the ability to journal or to record the intentions of changes before the changes occur. Such that if the actual changes fail, the journal still exists and can often be quicker at bringing back to a working state. Also, some systems alow for versioning of files or allowing for copies of a file at different stages of it’s existance. This works by keeping up with the ‘deltas’ of a file as it changes such that files can easily be reverted back in case of failure or emergency.
Creating VHDs
Aside from formating physical disks, adding partitions to flash drives, and naming your drives cool names, you can use a system like Disk Manager to create Virtual Disks for the use in Virtual Machines or for containing and isolating files.
Virtual Disks VHDs and VHDX
We can easily simulate a physical harddrive in the virtual space within a harddrive. In other words, you can make harddrives that sit on your harddrive and can be moved and copied in the same way you would copy a text file. These harddrives are called VHDs or VHDXs.
You can create Virtual Disks in three ways:
- Disk Management
- Using Hyper-V Manager
- Powershell command line.
Making a VHD using Disk Management
- Open Disk Management by searching for it in the start menu
- In the top menu choose Action and then Create New Virtual Disk
- Set the disk’s name, size, and location. You can choose between a traditional VHD or a VHDX.

You’ll notice that you have a new drive in Disk Management but it’s showing up black instead of blue. It will be Not Initialized, Unallocated, and Offline.
- Right click in the grey box that has Disk 1 (or whatever number) and Initialize the Disk.

- Set the partition style you’d like to use for this disk.
- now Right click into the white rectangle space beside that and create a new volume.
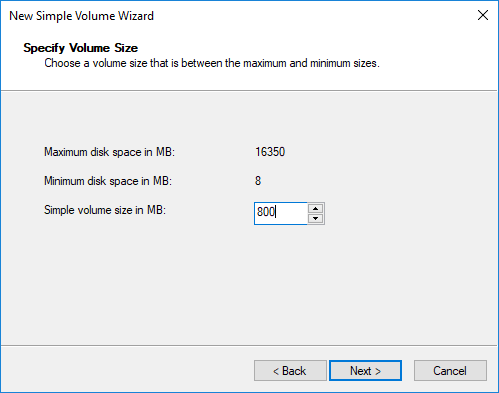
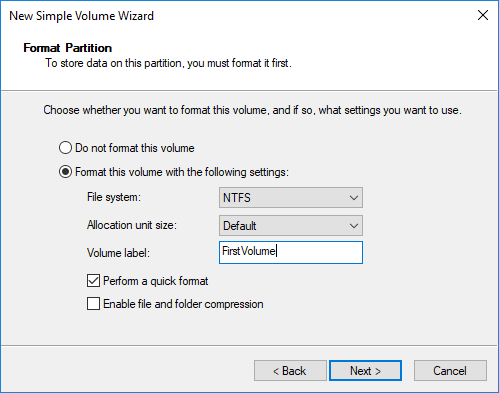
- you will then be prompted to decide the file system type and the name of the volume.
- Click finish.