Implementing Server Storage Spaces
Software Defined Storage & Storage Pools
Storage Pools and Storage spaces helps an admin to manage the storage infrastructure with in an enterprise environment. Before installing and configuring here is a quick overview.
Storage pools are a type of software defined storage system that takes multiple physical devices and creates a single Pool resource to create virtual ‘logical’ volumes from. Imagine having 3 harddrives 2 GB a piece. Then you collect their storage capabilities together to then create something like 2 VHDs with 3GB of space each. This is sort of how Storage Pools work.
|--------------------------|--------------------------|
|                          |                          |
|          3GB             |          3GB             | ----- Logical Volumes
|                          |                          |
|--------------------------|--------------------------|
|-----------------------------------------------------|
|                                                     |
|                         6GB                         | ----- Volume Pool
|                                                     |
|-----------------------------------------------------|
|-----------------|-----------------|-----------------|
|                 |                 |                 |
|       2GB       |       2GB       |       2GB       | ----- Physical Volumes
|                 |                 |                 |
|-----------------|-----------------|-----------------|
There are ways to arrange the pool’s resources such that instead of just adding up all the space, you use some of the space as a redudant system to create a failsafe. Pools can allow for a drive to completely fail and the data saved onto that logical volume still be accessible.
Note: this look familiar if you’ve used LVM before. Same concepts. It’s all software defined storage.
Adding the Feature
As done before, make sure that the File and Storage Services feature is installed from the Server Manager > Manage > Add Roles and Features.
Configuring Storage Pools and Storage Spaces
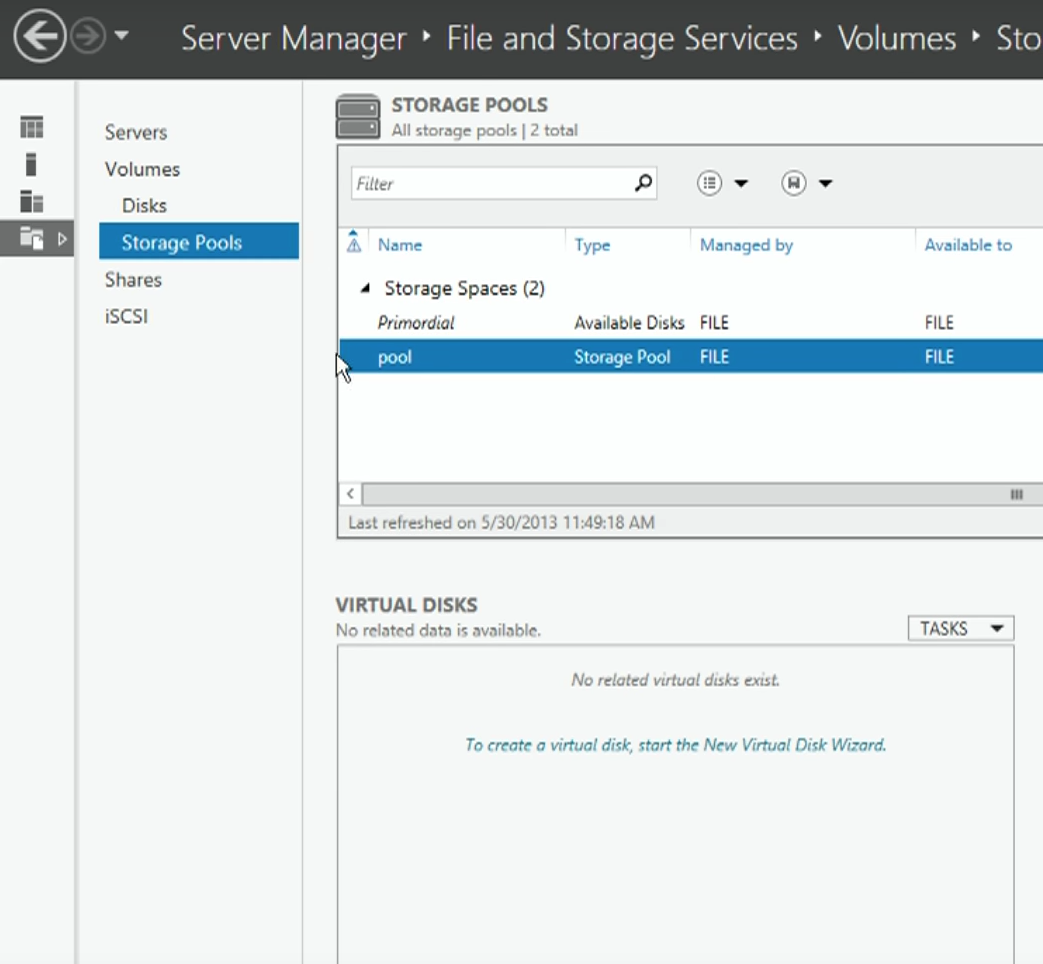
- In Server Manager head to File and Storage Services
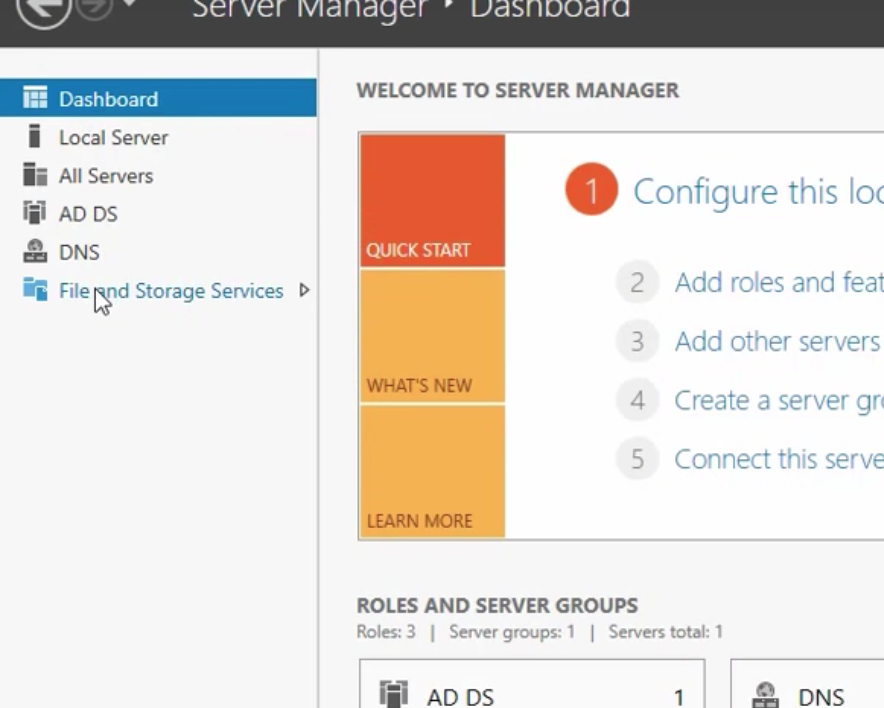
- Select the Storage Pools option from the left menu
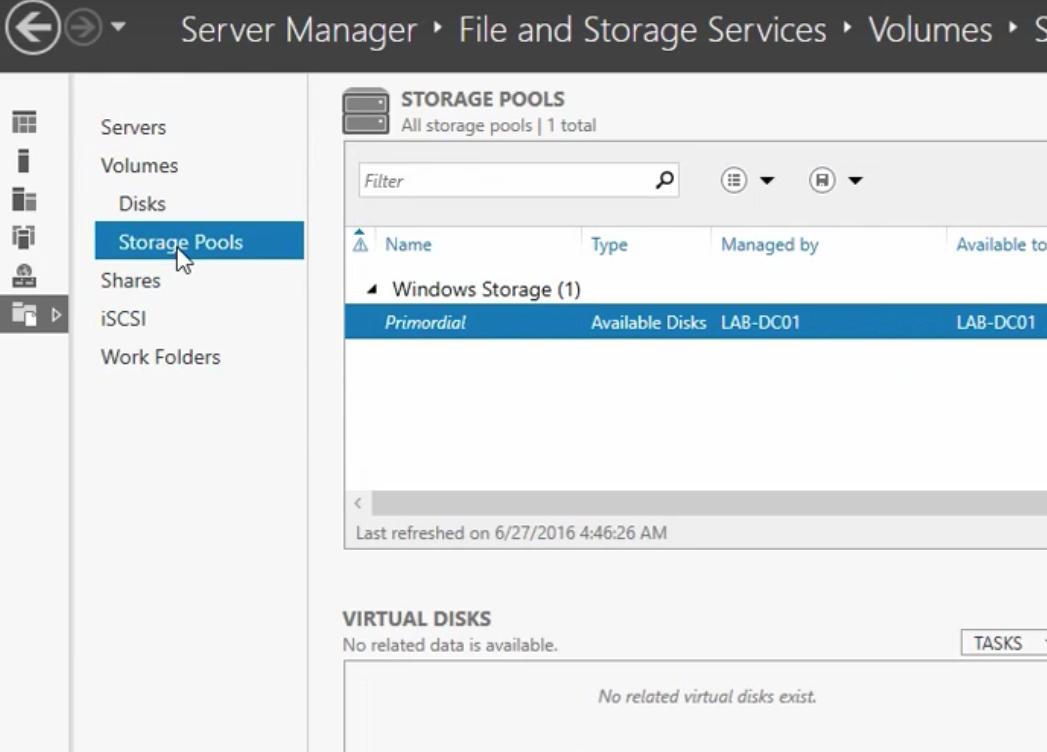
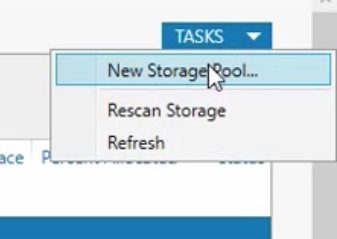
- In the top right corner select TASKS and then New Storage Pool
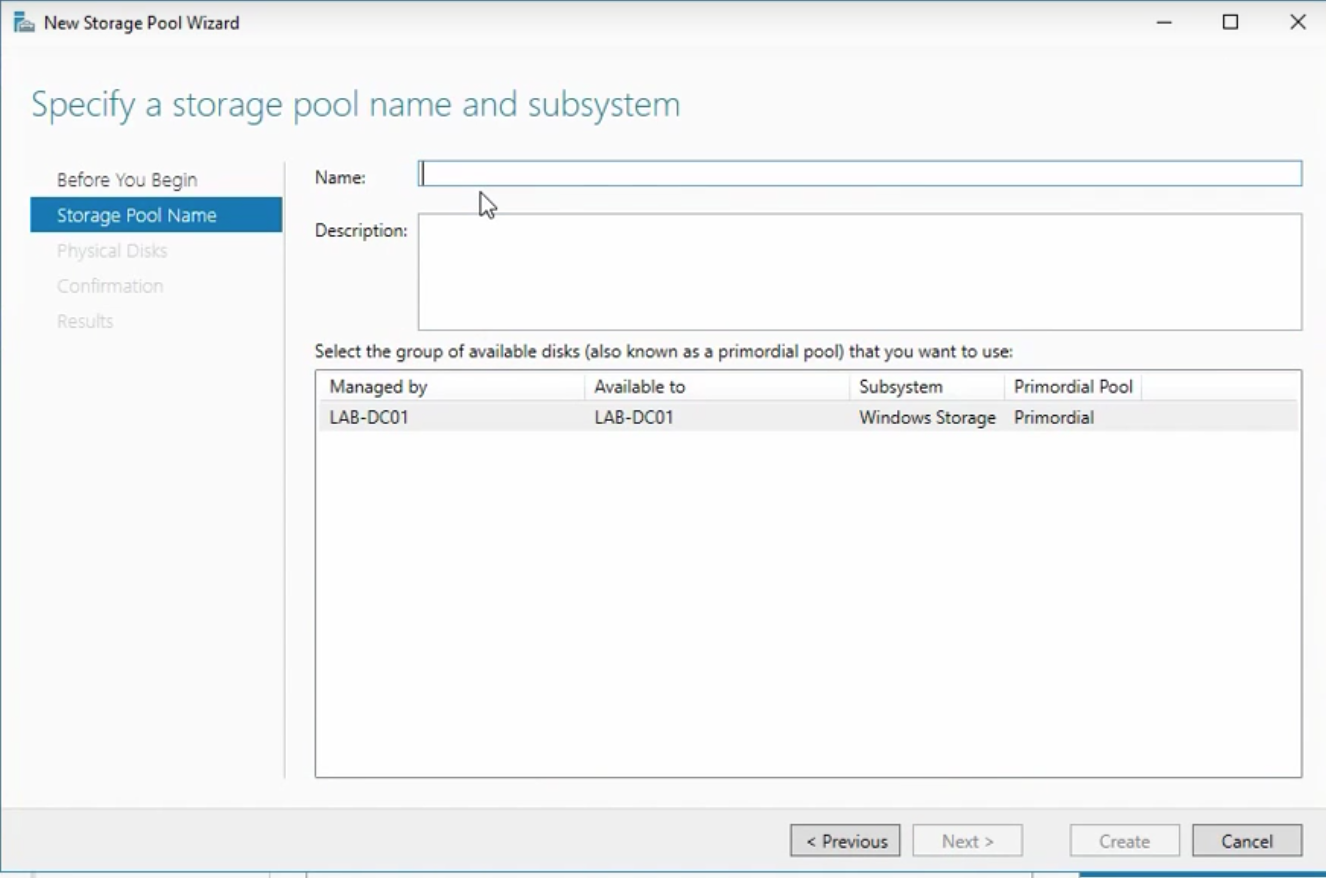
- Now give this new pool a name and select which group of disks you’d like to use.
- Now you should be able to add the disk you’d like to use in this pool. You have options for allocation for setting up hot swaps if needed.
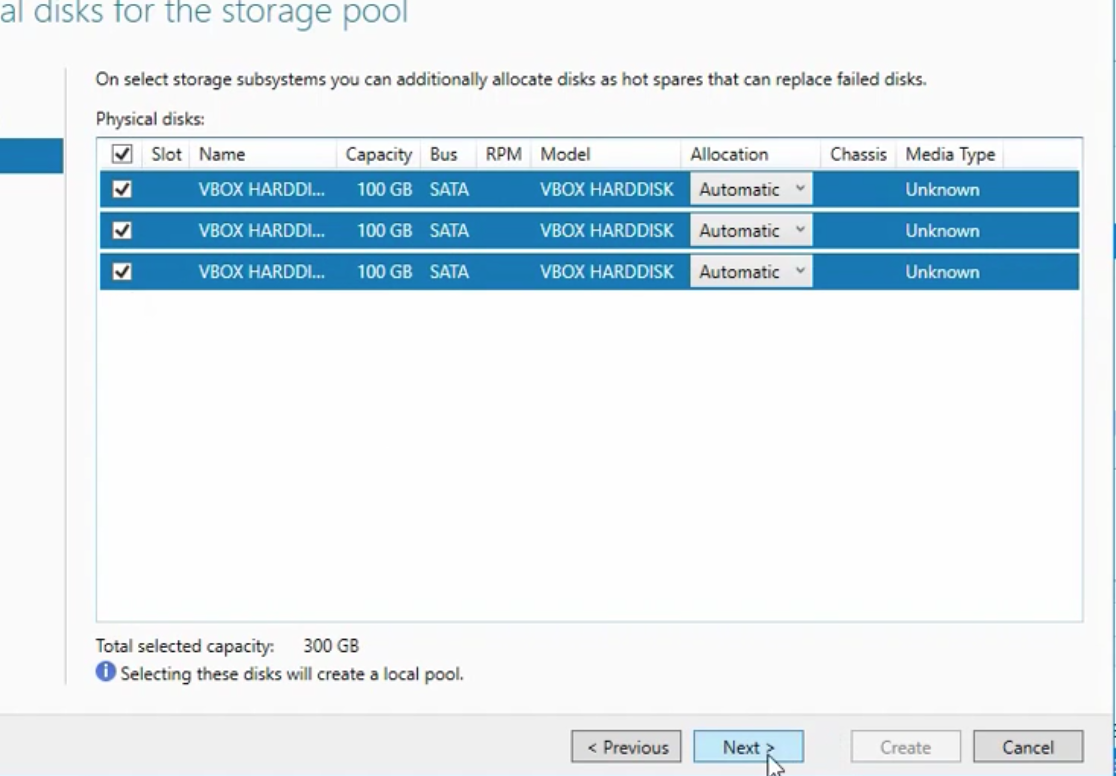
- Review the summary and click create

Creating volumes in the pool
Now that your physical drives are being used in a pool, you’ll need to create logical volumes or virtual drives to be able to utilize the storage.
Creating a Virtual Disk in the Pool
So now you can see that you have a new storage pool but under it there is a section for Virtual Disks, and it’s empty.
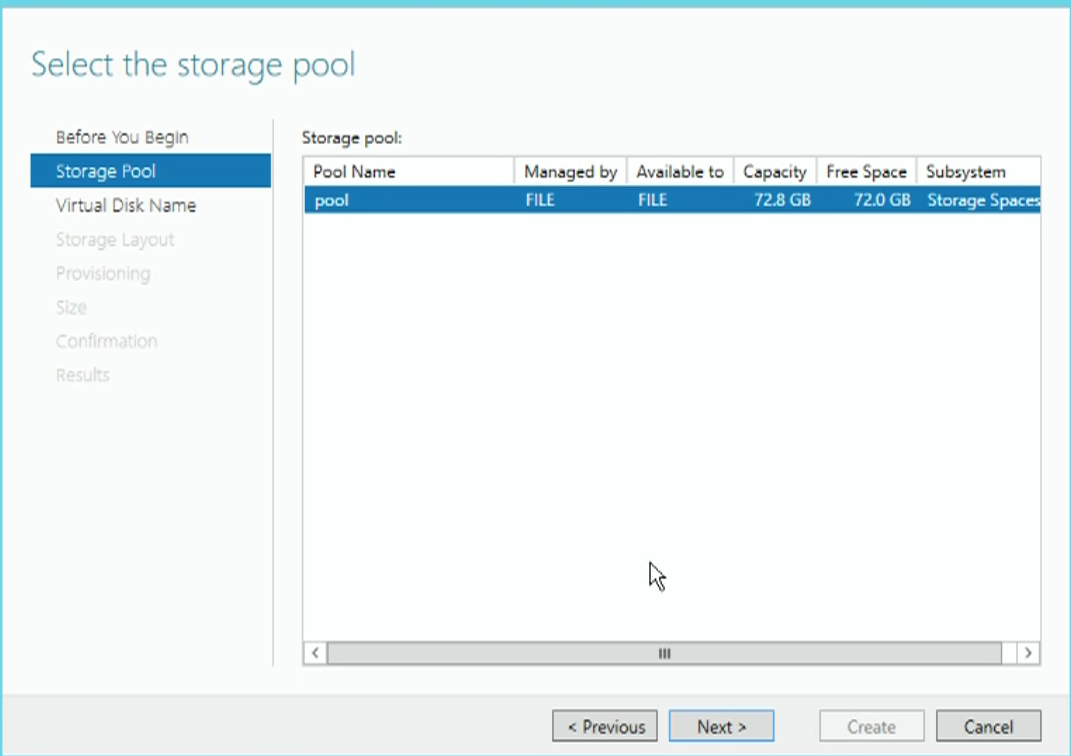
- Click Tasks and click create new virtual disk. Or you can click the New Virtual Disk Wizard link within the virtual disk section.
- It will then ask you to select the pool that you’d like to use.
- This next section is the layout section. Choose between:
Simple - no fail safe, allows for the most space usage
Mirror - Drive is mirror onto other drives so if a failure happens, it can be found on another drive. *(this comes in a two way or three way flavor. Allowing for two drives to fail)*
Parity - Works against single drive failures.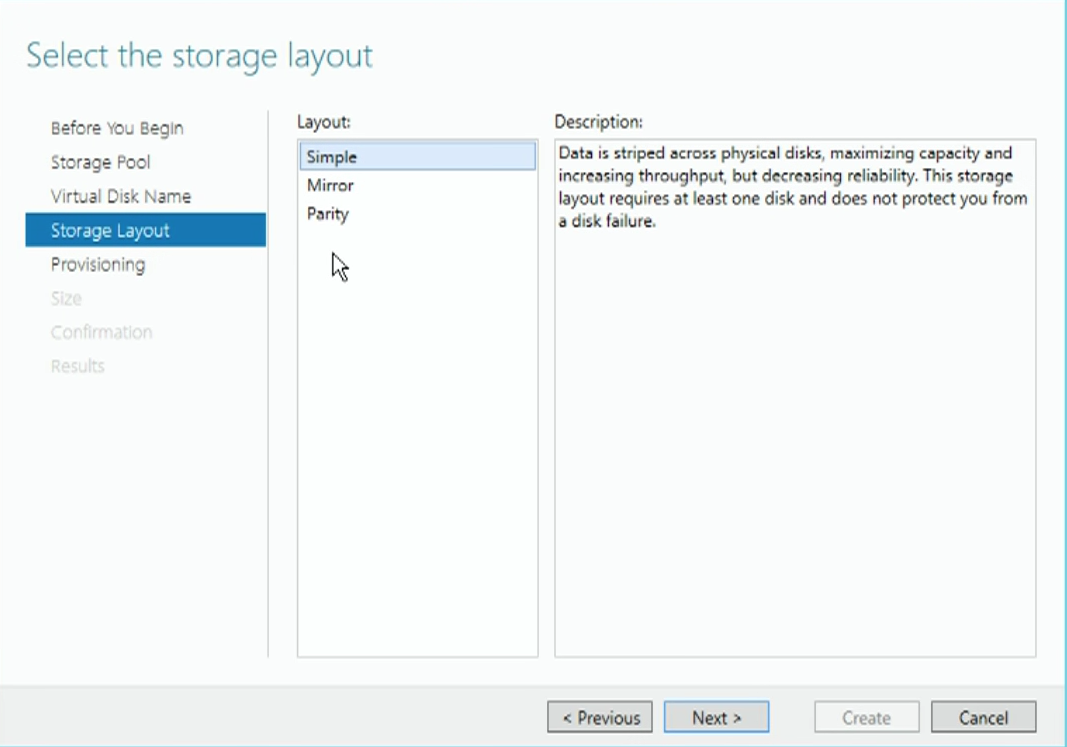
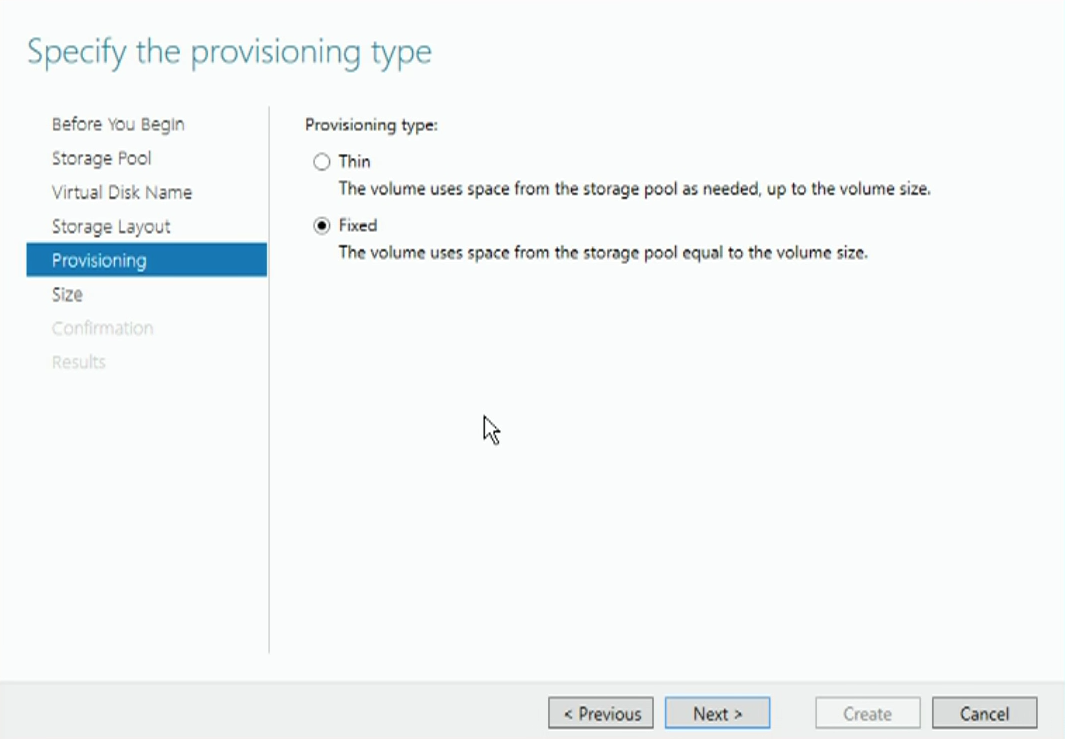
- Select if you’d like to thin provision or a typical fixed provision.
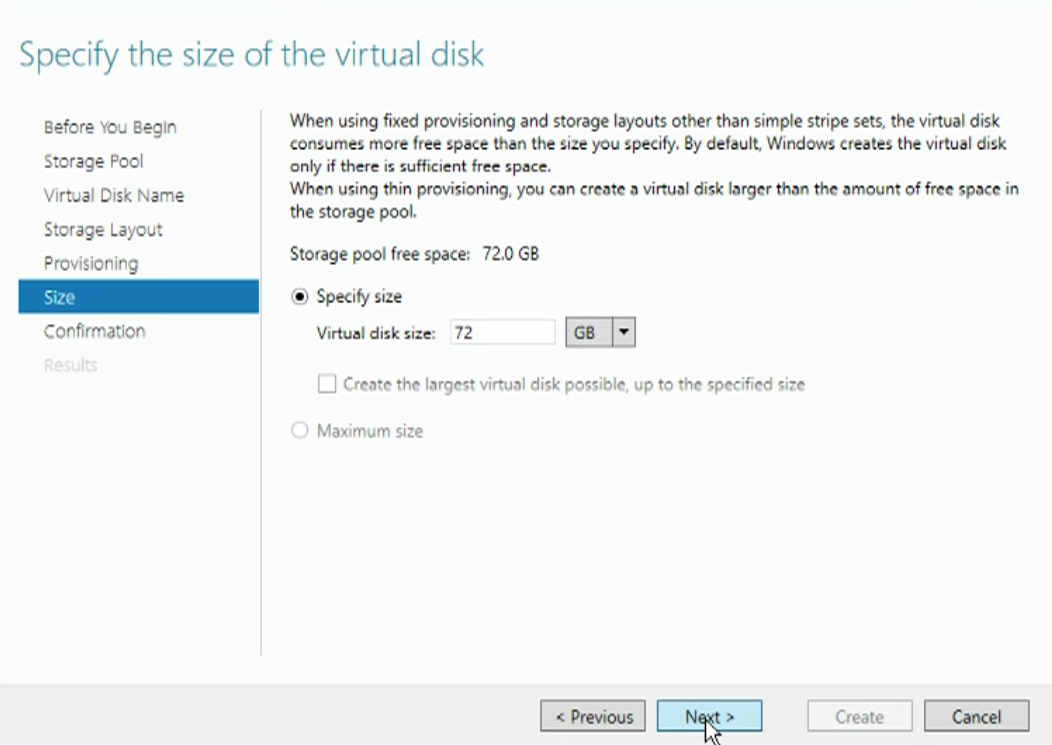
- set the drive’s size.
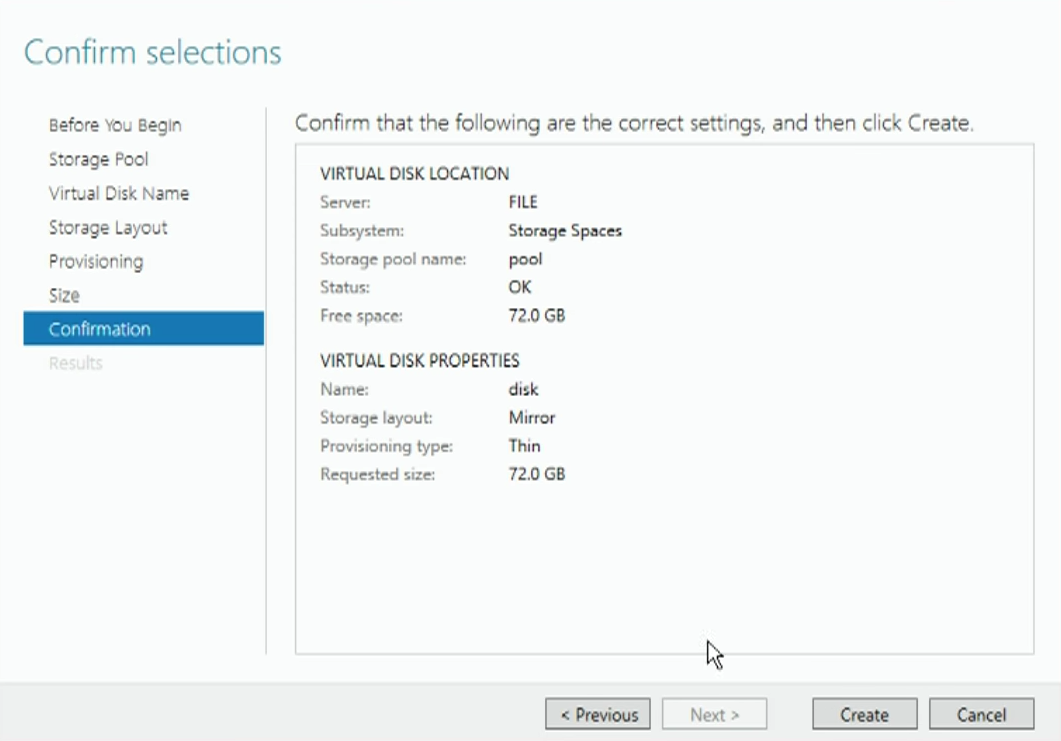
- Now just review your options before you finish.
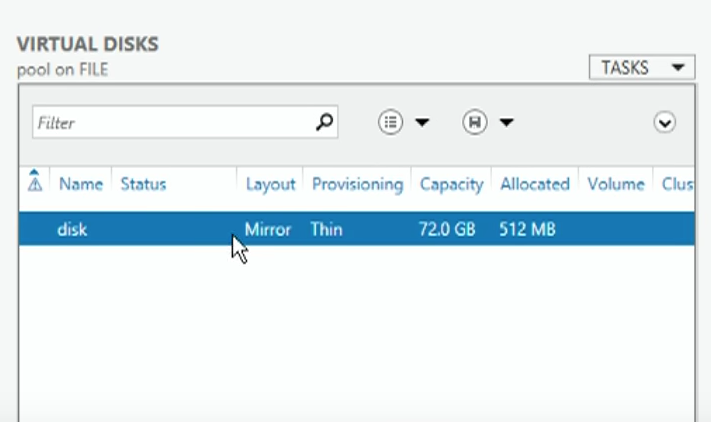
- The Wizard will now create your virtual disk and you should be able to find it in the Server Manager under the File and Storage Manager.
iSCSI Storage
With iSCSI you will have the iSCSI disk, target, and initiator. This can be very confusing at first. Let’s clear that up.
Disk - The disk does not mean that it’s a physical iSCSI disk. What we are talking about is a VHD that is setup to communication using iSCSI
Target - The target is esentailly the iSCSI server. It will be where machines communicate to access the iSCSI resource.
Initiator - these are the machines on the network that ‘initiate’ a connection to the Target to get access to the iSCSI Drive.
Creating a iSCSI Virtual Disk
I’ll be skipping the iSCSI Role installation. The specific option you will want is the iSCSI Services with the iSCSI Target Server selection
- In the iSCSI section of the File and Storage Services Server Manager interface. Click TASKS and create a new iSCSI Virtual Disk
- Select the volume you’d like to use.
- Give it a name
- Select the size and the space allocation type.
- You’ll now start making the Target. Click New iSCSI target
- Give it a name. You can use the lon naming convention to help keep things organized.
- You will now add the iniatiator. Remember the initiator is the machine that will access this drive. You can add it by it’s name on the domain or by it’s IP address.
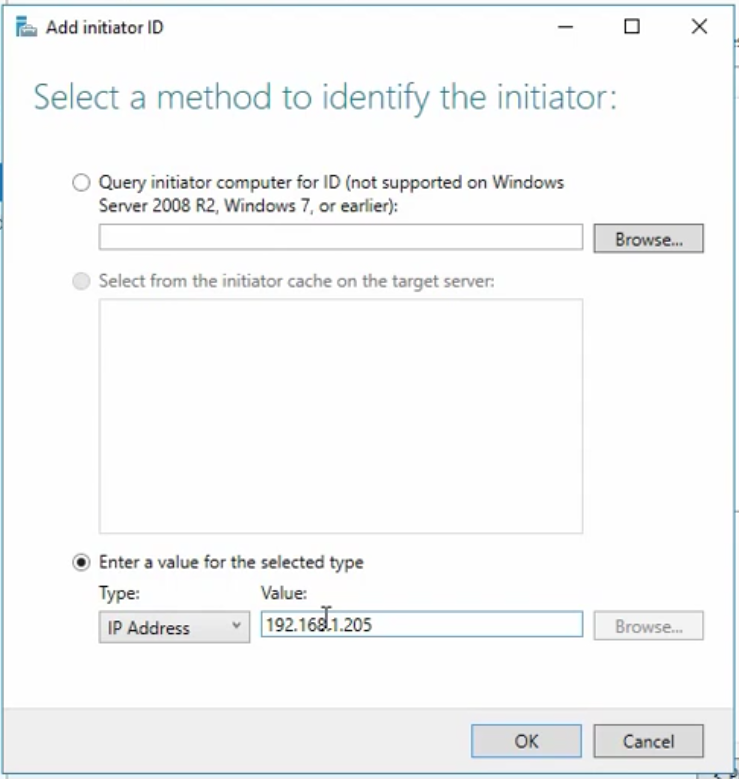
Note: The iniatiator will actually have to iniate the connection. This is just setting up who can be iniatiators.
- You can setup CHAP to authenticate. This is a good security measure but doesn’t have to be setup for it to work. In the lab, you can skip this.
- Review your setup and complete.
You’ll see that the iSCSI section of the File and Storage Services will show that it clears the disk and then shows who is connected to it. For now it shouldn’t be connected to anyone.
iSCSI Initiator
On another machine that you’d like to access the iSCSI drive from. You will use the iSCSI Initiator application to make this connection. You can find this in Tools within the Server Manager or you can search for it in the start bar on other Windows machines.
- For your target, enter in either the host name with the domain, or use it’s IP address to search for that machine under quick connect.
- If you setup the Initiator in the previous section. You should see Login Succeeded. in the Progress Report section.
Note: before accessing the iSCSI drive, you will have to bring it online in Disk Management. It will not have allocated space and it will not be initialized as a disk. Set up this disk like a typical disk and give it a new volume before you can access it. See my post on volumes to see more on how to do this
You’re done!
Giving your iSCSI iSNS Domain set and zone.
You can setup an iSNS server to give your iSCSI targets a domain name on your network. iSNS creates nodes with targets, disks, and initiators. You can give them zones and sets within the Domain called Discovery Domains. I won’t cover this now but it can be pretty useful.
Storage Replica
Storage Replica is a feature that allows two servers create a complete block level copy over SMB between two drives. AKA a image quality copy over the network. It doesn’t use a snapshot type technology, but constantly sends data over. This is good for disastery recovery and for log backups, databases, etc.
This is not drive sharing. This is creating a copy of a drive from one drive to another.
Add the feature first
- In Add Roles and Features. Find and add Storage Relica.
- On the server you are creating a replica with. Do the same process.
- reboot both machines.
Configuring in Powershell
There aren’t any GUI options for Storage Replica. You’ll have to do this in powershell.
New-SRPartnership -SourceComputerName <Name> -SourceRGNName <Name> Source RG -sourceVolumeName <Drive Letter> -SourceLogVolumeName <Letter for replica> DestinationRG -DestinationVolume <Drive Letter> DestinationLogVolume <Drive Letter>
SRPartnership is the relationship between two machines with Storage Replica running. This command creates that relationship.
Note: if you use computer names in this, you will need to make sure your DNS is working. Otherwise you can use IP addresses
Run the commanlet and wait for it to complete with an output of the summary.
To check to see if your Storage Replica is working you can run this Powershell command:
(Get-SRGroup).Replicas | Select-Object Numofbyesremaining
It will show how many bytes are left as it copies itself over.
Storage Replicas are great in combination with Failover to allow for a strong redudant system.