Implementing Windows Deployment Services
How it works
Windows Deployment Services is a server role that allows an administrator to have install images ready for any machine on the network. It makes for simple installs as long as there is a DHCP server and a machine that is PXE boot enabled.
Esentially the boot images will be stored on some storage device on the network. The WDS server will respond to the DHCP server when a machine is starting to PXE boot. Letting it know that it’s able to help with an installation over the network. The machine PXE booting will then give the user a list of bootable OSs sitting on the WDS and from there it’s almost identical to a typical installation.
The DHCP handles the request
The DHCP plays a huge part in making WDS work. Here is how the client requests for the install.
PXE client sents a UDP broadcast for a DHCP DISCOVER on port 67
DHCP server replies directly with the IP address of the WDS Server on port 68
PXE client then reqests the name of the boot file from DHCP
WDS server sends a DHCP ACK with the boot file name
PXE client requests for that file
PXE client then downloads the file via TFTP and then runs file
Note: Active directory isn’t completely necessary to make this happen. The server needs to have the role installed and needs to be an admin on some domain. Otherwise any machine should be able to request WDS to help it out. You can set WDS to only talk to machines that have be prestaged, have machines request to be prestaged, or just have any machine chat with the WDS without worrying about it.
Okay let’s get to it. Before we install make sure you have these guys:
Requirements
- DHCP Server (Router or Server)
- Active Directory Domain Services on a Sever setup as Administrator on that domain.
- DNS server to point machines to the server for the PXE boot.
- OS install .iso and files
- Server has NTFS system to store the bootable images. (in paticular, something other than the HD holding the Server. WDS will slow your server down to a crawl otherwise)
Installing the WDS Server Role
Like any other server role, you have to install it. Just in case you’ve missed the other posts on that. Here ya go:
To install the WDS server role:
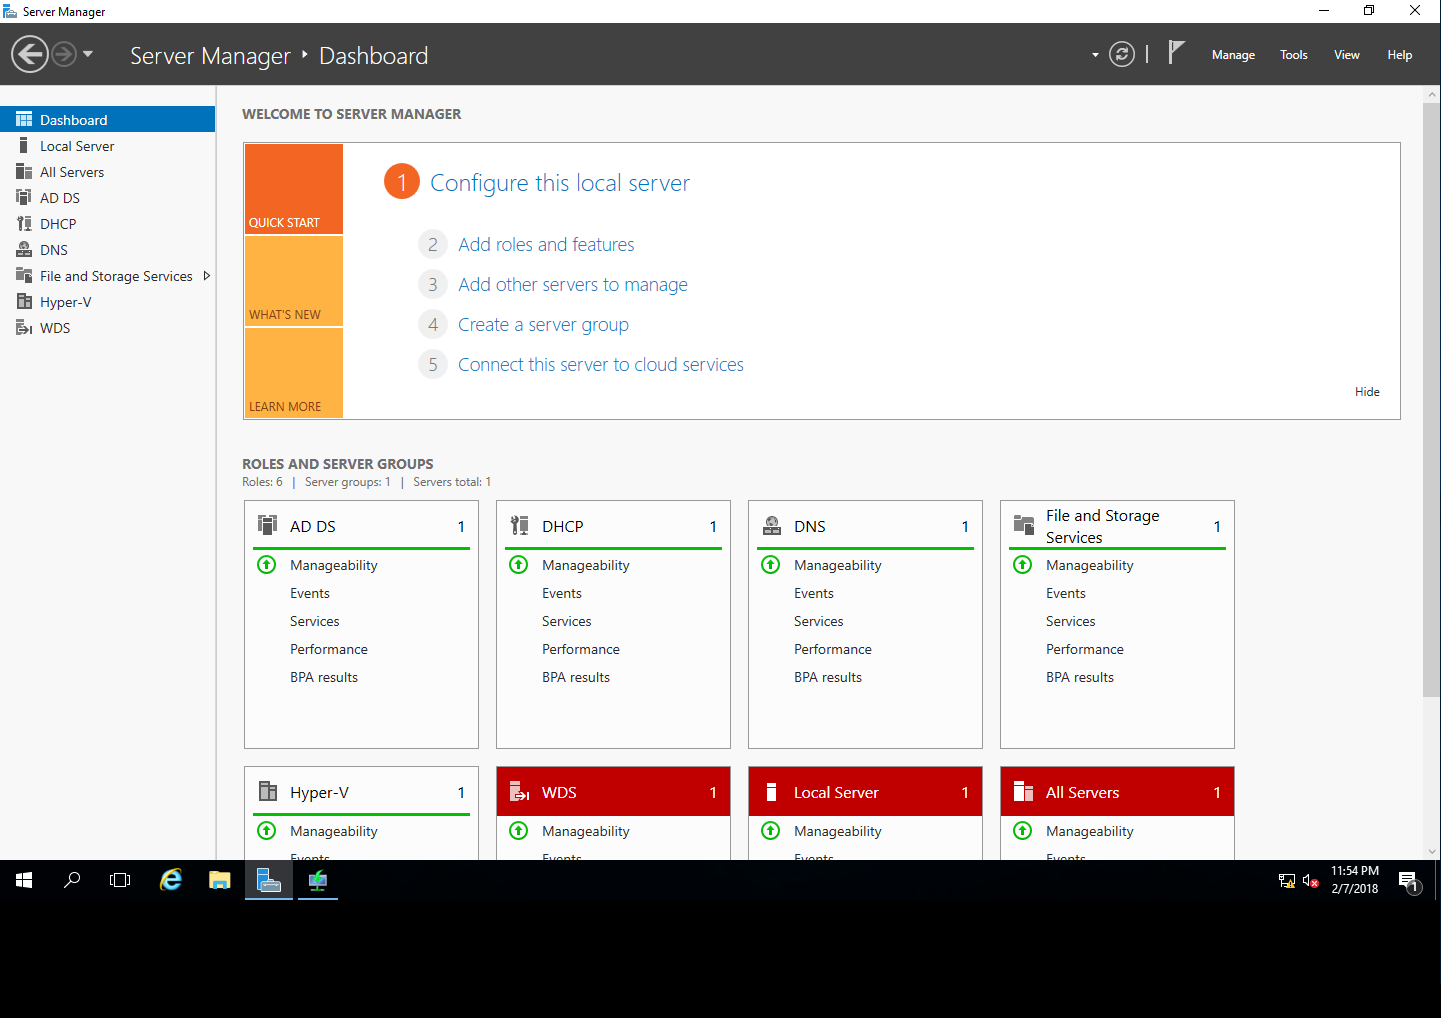
- In Server Manager go to the Manage option in the toolbar
- Add roles and features
- Hit next to pass the first prompt
- Select the server you’d like to add the Role
- then find the WDS option and check it off.
- hit next until you get to the end and allow it to install and restart if needed.
- Check to make sure your WDS role is on the side bar of Server Manager. If it’s there. You’re good to go!
Configuring WDS
Alright. Now that you’ve installed the feature. You’re going to have to set some of it up. Remember when I mentioned using a seperate storage device? Or who gets to talk with WDS? This is that part. Here ya go:
When you open the WDS section, it will show the Servers and the Events for this role. Use this if you have multiple servers handling WDS or you’d like to see how a deployment went.
For now we want to make sure this server is configured.
- Right click the server you’re adding WDS to and in the drop down menu select Windows Deployment Services.
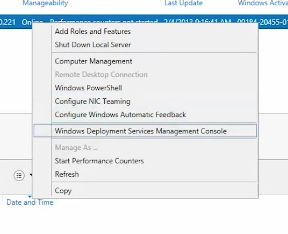
You can also find Windows Deployment Services by searching it in the Start menu.
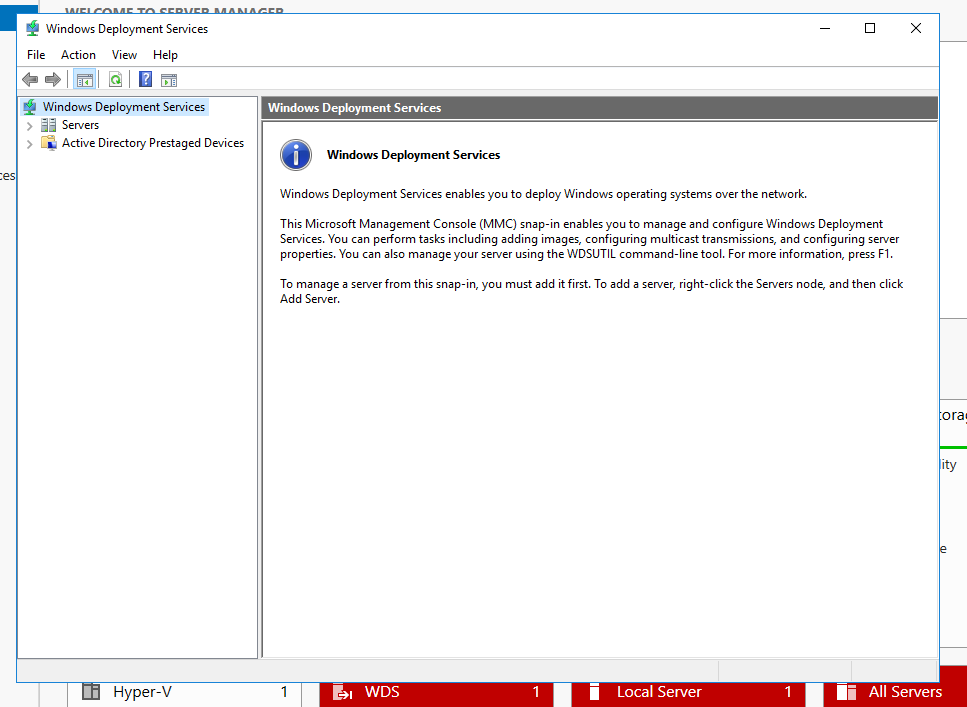
- Find the server you are installing on. It should be in the left side inventory section.
- If you have just added WDS as a feature, it should give you a warning page to let you know that it needs to be configured.
- Right click the server and select configure server.
Set up with these options:
- Integrated with Active Directory
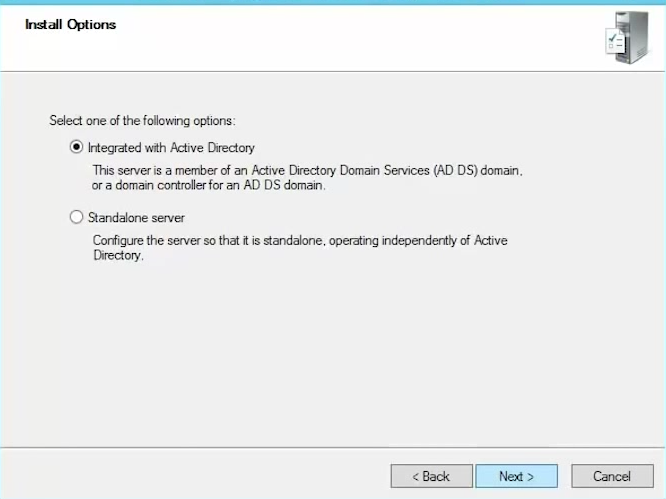
- default Installation Folder Location or to your specific needs
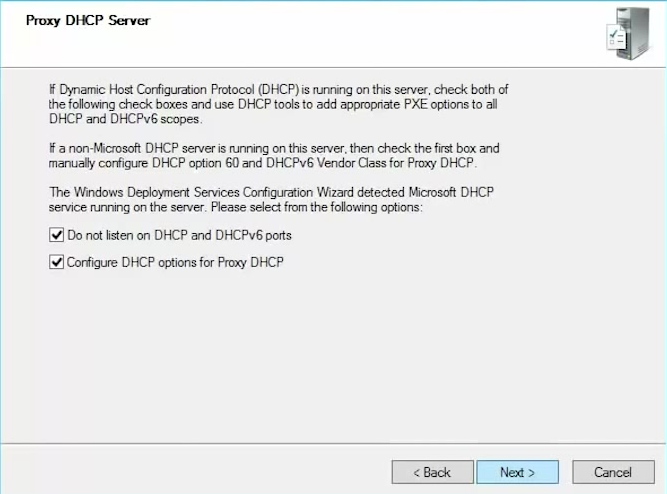
Note-1: if this server is also the DHCP, the additional options for Proxy DHCP Server will be given as well. Just check both sections off.
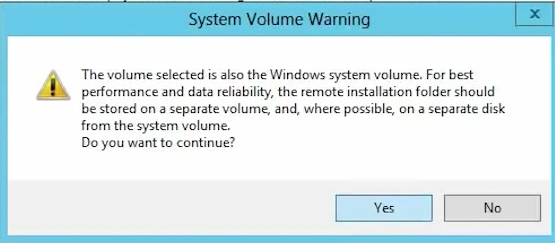
Note-2: It’s important to know that in a lab envirnoment the locaiton of the install folder doesn’t matter. But almost always, you would want this drive to be somewhere seperate so it doesn’t use up resources on your Server machine
- Set the PXE Server Initial Settings as needed. For the lab, Respond to all client computers should be fine. This is just setting the parameters for what computers can use this feature to install.
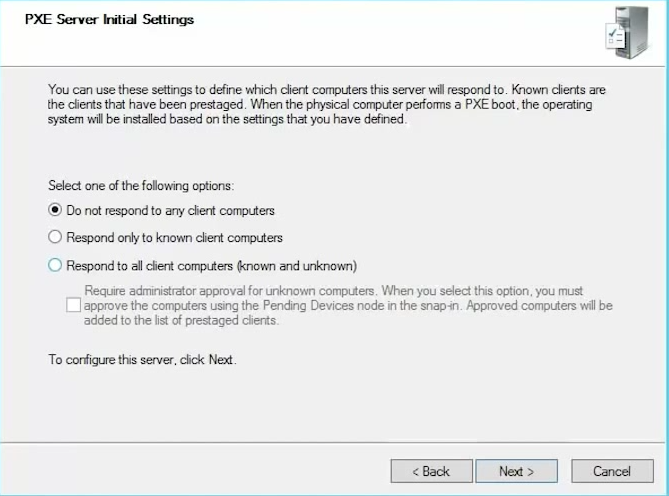
Note: You can set it up so that only computer you have prestaged can get installs. This is most likely the more secure option but requires more planning and work as an admin.
It will begin configuring the WDS. You can click finish if you’re done. If you’d like to start adding images to use with WDS, you can check off Add images to the server now. Otherwise adding images can be found under the server’s drop down in Windows Deployment Services.

Adding Images to WDS Server
To use WDS with an install, you need to make both a boot image and a install image. This is where your install .iso comes in play. Depending on which Windows or Windows Sever install you’re looking to deploy. Load up the disk or flash drive to the server.
boot.wim - found inside the .iso under Sources install.wim - also found inside the .iso under Sources.
Adding the Boot Image:
- Go to Server Manager
- go to tools and then find Windows Deployement Services in the dropdown list.
- Right click Boot Images and click Add Boot Image

- Find the boot.wim file. Click Open
- Next until finished.
Do yourself a favor and name the image something specific to that OS, when PXE lists the options, this Image name is what it will show you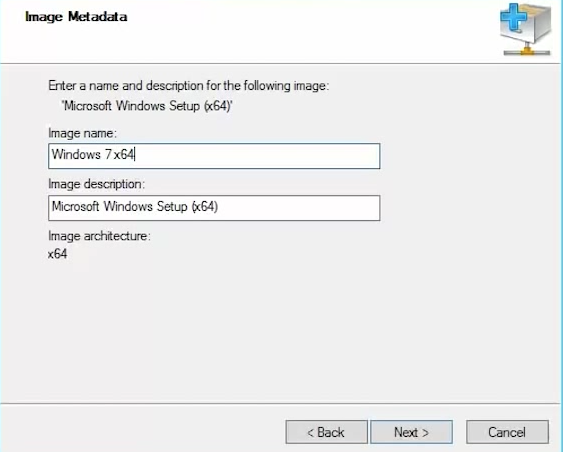
Adding the Install Image:
- Go to server Manager
- go to tools and then find Windows Deployement Services in the dropdown list.
- Right click Install Images and click Add Install
- It will make you create a group image. Name this image something descriptive. example: Windows Server 2016 64 bit

- Find the install.wim file. Click Open
- Check off the OS images that you’d like to include if there are more than one.
- Next until finished.
- wait for the Image Wizard to complete.
Note: you can also create capture images on machines that have been updated, configured, and have paticular programs installed. This is covered in a later post.
Using WDS to install
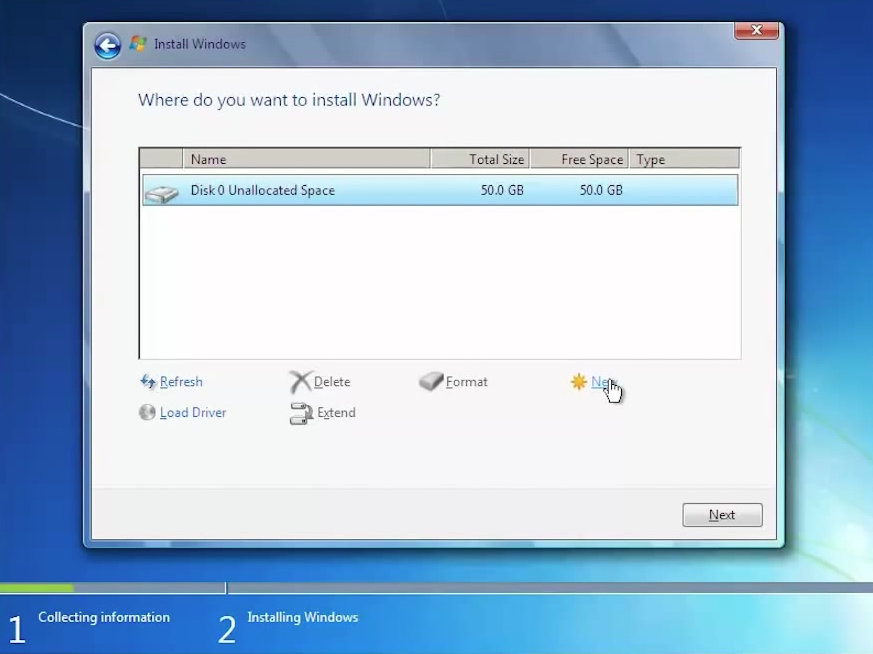
Now all you have to do is boot up the machine and make sure the PXE boot is enabled. It’s important that the machine or VM is set to Legacy booting. Make sure the machine is on the network and it should handle the rest. Follow your typical install steps and you’re done and done!
There you go.
Cheers,
Zack